Methods for Aloe Transplanting:Insider Advice for Optimal Regrowth
### Transplanting Aloe Vera: A Step-by-Step Guide for Success
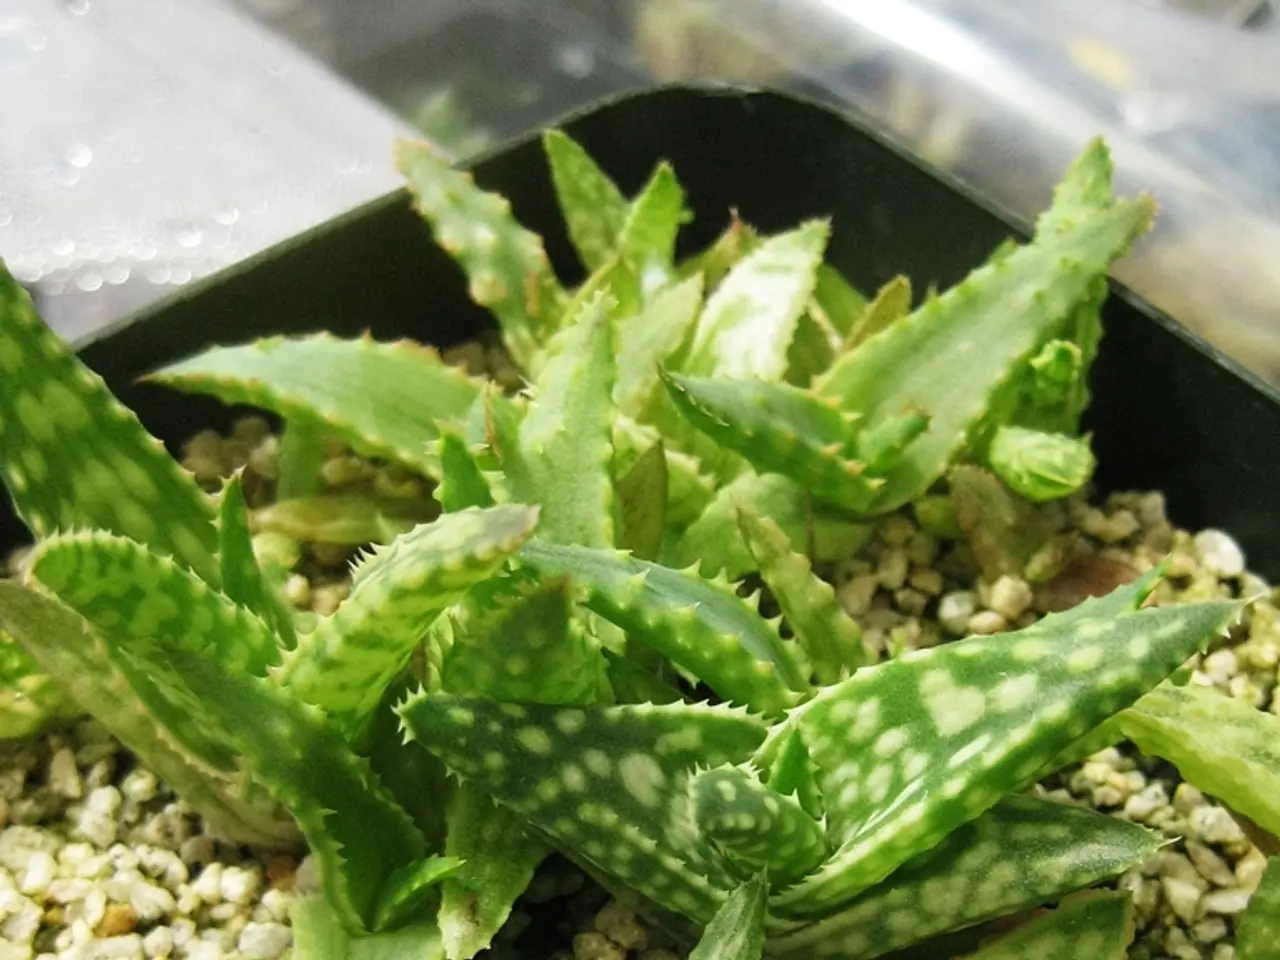
Transplanting an aloe vera plant can be a rewarding experience for garden enthusiasts, and with the right care, it can thrive in its new home. Here's a comprehensive guide to help you transplant your aloe vera successfully.
#### Step-by-Step Transplantation
1. **Choosing the Right Time**: The spring season is the ideal time for repotting aloe vera, as the plant is actively growing and can recover faster from transplant shock.
2. **Selecting a Suitable Pot**: Opt for a pot that is slightly larger than the current one, with good drainage holes to prevent waterlogging. Terracotta pots are a great choice due to their excellent drainage properties.
3. **Preparing the Plant**: Water the aloe vera 24 hours before transplanting to hydrate it. If the leaves appear overwatered or wilted, skip watering.
4. **Removing the Plant**: Carefully take the aloe vera out of its current pot. If the roots are tangled or stuck, gently loosen them or, if necessary, cut them to avoid damage.
5. **Using Appropriate Soil**: Aloe vera prefers well-draining, sandy, or gritty soil that mimics desert conditions. Use a cactus or succulent potting mix or any soil that drains well.
6. **Planting**: Place the aloe vera in the new pot, filling around the roots without packing too tightly. Avoid burying the leaves to prevent rot.
7. **Initial Watering**: Water the plant immediately after transplanting to settle the soil around the roots. After this, allow the soil to dry out between waterings to prevent overwatering.
#### Post-Transplant Care
1. **Light**: Place the plant in a spot with plenty of direct sunlight to promote healthy growth. However, initially, it's advisable to place the transplanted aloe vera in indirect light to avoid stressing the plant.
2. **Watering**: Water moderately and only when the soil is dry. Overwatering can cause root rot or wilting leaves. During hot afternoons, provide shade to prevent leaf burn.
3. **Temperature**: Keep the plant in a warm environment; aloe vera prefers temperatures typical of indoor or warm outdoor climates. During winter, the aloe vera plant requires less water as it rests and doesn't need as much hydration.
4. **Monitoring Health**: Watch for signs of stress like wilting leaves or discoloration, which may indicate watering issues or transplant shock. Adjust care accordingly.
This method ensures minimal root disturbance and optimal conditions for your aloe vera to thrive after transplantation. Regular checks and a quick squirt of neem oil can help keep pests at bay after transplanting.
Glen, a gardening expert with over 15 years of experience in garden maintenance, design, and landscaping services, shares this guide to help you successfully transplant your aloe vera plant. By following these steps, you can connect closer to the cycles of nature and enjoy the benefits of this versatile plant.
Incorporating aloe vera into a home-and-garden setup can be an excellent addition to one's lifestyle, provided it's transplanted successfully. Following Glen's comprehensive guide, one can nurture their aloe vera plant in a new pot, ensuring it continues to flourish as part of a home-and-garden focused lifestyle, particularly in the home-and-garden category of gardening.


