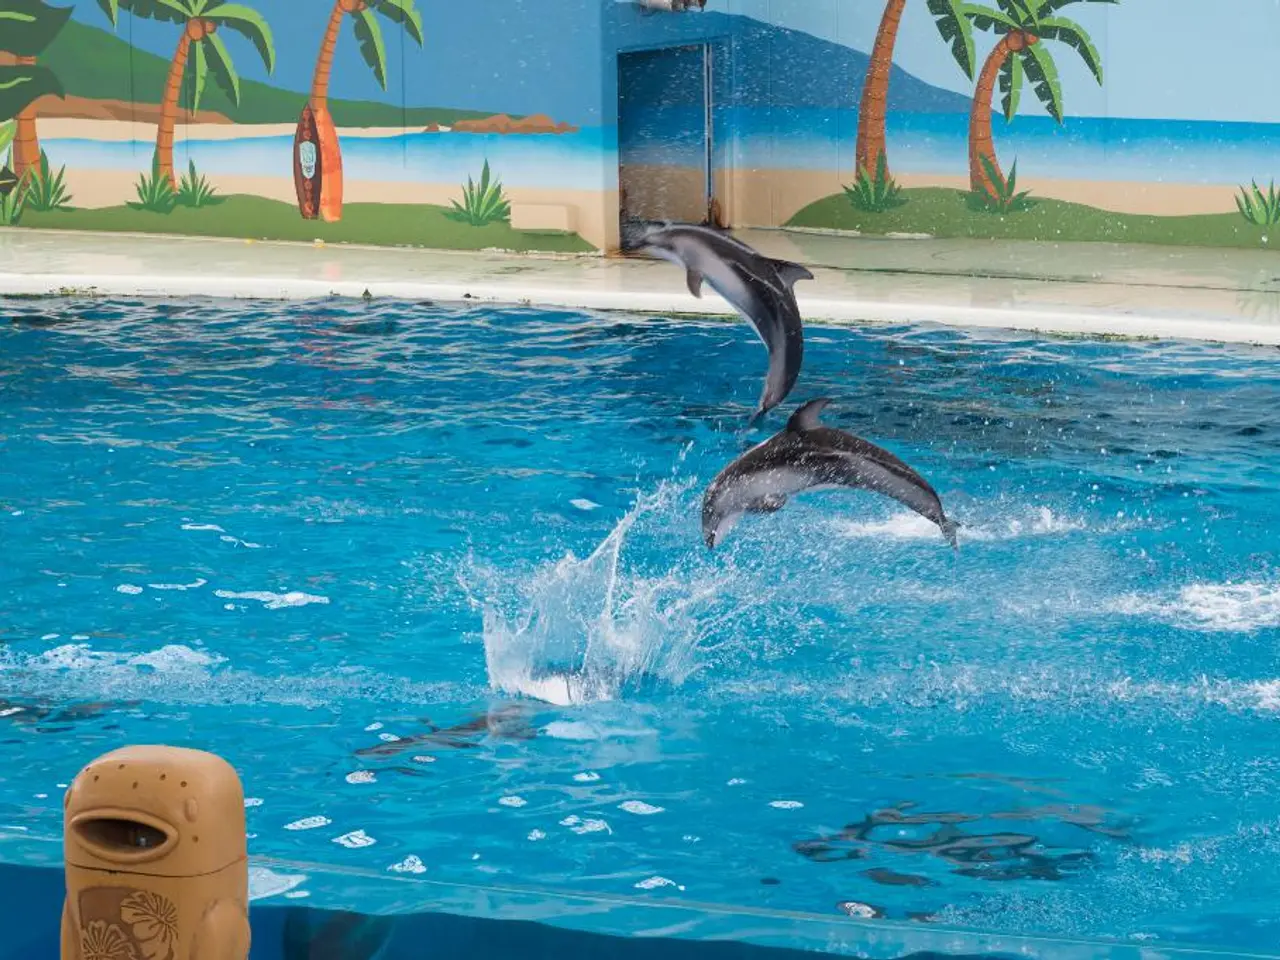
Marine Art Featuring Swimming Dolphins in the Deep Blue Sea
Creating a Vibrant Layered Ocean Art for Kids
Bring the ocean to life for your little ones with this fun and engaging art project! By using construction paper, paint, craft foam, and wax paper, you can create a stunning layered ocean scene that's both tactile and visually appealing. Here's a step-by-step guide to help you get started.
Step 1: Prepare the Ocean Background Begin by painting a large sheet of construction paper or watercolor paper with various shades of blue paint, mixing colours like blue, green, and purple to represent ocean water. Let it dry completely.
Step 2: Create Layered Strips Tear or cut the painted paper into long strips. Arrange and layer these strips horizontally on a base (such as cardboard) with the white torn edges facing up to simulate ocean waves and the layering effect of water.
Step 3: Add Texture with Wax Paper and Craft Foam Cut wavy strips from wax paper and colored craft foam in blue or turquoise hues. Layer these over parts of the painted paper strips to add shiny, textured layers resembling light reflections on water and ocean depths.
Step 4: Add the Dolphin Use a dolphin template to trace and cut out a dolphin shape from gray craft foam for sturdiness and contrast. Paint or colour the dolphin as desired, and add an eye with a marker pen. Attach the dolphin cutout onto the layered ocean background, positioning it as if swimming amidst the waves.
Step 5: Finishing Touches Enhance the ocean scene by adding details like bubbles or seaweed drawn or cut from construction paper, or by adding painted accents. Use glue to secure all layers and elements firmly.
This method blends painting, layering torn paper, and adding textured materials to create a vibrant and tactile ocean scene for kids. You can adapt details based on available materials and children's ages.
For example, you can cut multiple dolphins from the gray craft foam template, and position them at different heights on the ocean background to create a dynamic scene. To add extra texture, cover the painted ocean except the top inch with a piece of wax paper, tape the edges to the back of the artwork, and create a wave at the top of the wax paper piece. You can then add another layer of wax paper further down the ocean, over the top of the first piece, and tape the edges to the back.
Once the paint has dried, trim off any unpainted edges and glue the art to a lighter shade of blue card, leaving an inch or two at the top. This will serve as a beautiful and engaging ocean art for your children to enjoy!
The layered ocean art created through this project can also add a lively touch to a home-and-garden decor, especially in a child's room. This unique piece would make a great addition to a home-and-garden lifestyle, showcasing the creative talents of the little artists in your family.