Guidelines for Readying Your Bathroom Prior to Bath Tub Replacement Installation
For homeowners embarking on a bathroom renovation, installing a new bathtub is an exciting yet daunting task. To ensure a successful and seamless process, follow these key steps and considerations when preparing for bathtub installation.
**Steps to Prepare for Bathtub Installation**
1. **Plan and Measure Accurately** Before purchasing a new bathtub, measure the available space, including length, width, depth, and bathtub alcove or designated area. Verify the size and shape of the new tub to ensure it fits the existing space.
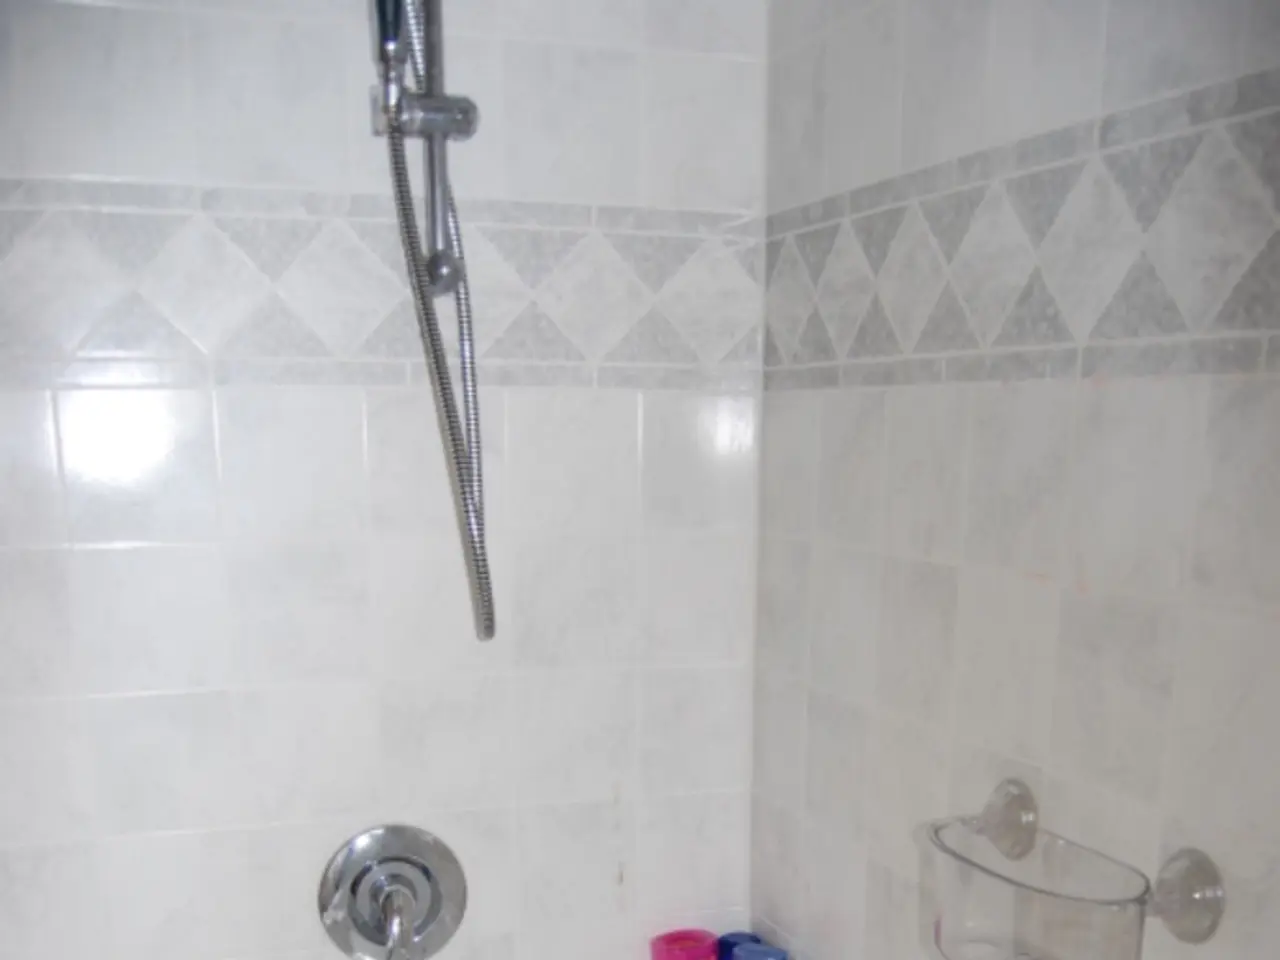
2. **Shut Off Water Supply and Remove Old Fixtures** Turn off the water supply to the bathtub and remove valve trim, tub spout, showerhead (if installed), and drain and overflow covers.
3. **Remove the Old Bathtub** Disconnect the drain assembly and carefully extract the old tub. Remove drywall and wall surround around the tub front and deck, and detach the flange securing the tub to the wall studs. Clean the alcove area thoroughly.
4. **Prepare the Alcove and Support Structure** Inspect the existing studs and subfloor for water damage or rot; repair as needed. Install a 2x4 stringer or additional support if the new bathtub requires it for stability. Install mold-resistant drywall and cement backer board in wet areas to provide a moisture-resistant foundation for tiling or wall surrounds.
5. **Dry Fit and Install the New Bathtub** Position the new tub in the alcove to check fit. Install the new drain and overflow assembly, connect the drain to existing plumbing, and secure the tub flange to the wall studs.
6. **Restore Walls and Surround** Repair or install new drywall around the tub area. Install new wall surround, tile, or splash panels depending on the design choice.
7. **Finalize Plumbing and Fixtures** Reinstall valve trim, spout, showerhead, and drain covers. Test for leaks and proper drainage.
8. **Ventilation and Finishing Touches** Ensure proper ventilation with a quiet, efficient exhaust fan to prevent moisture buildup. Use moisture-resistant paint (satin or semi-gloss) on exposed drywall. Install trim, outlet covers, and any accessories.
**Important Considerations**
- **Professional Help:** If the installation involves changing drainpipe configuration or complex plumbing, hiring a licensed plumber is recommended. A general contractor can also coordinate multiple trades if the project is part of a larger remodel. - **Materials:** Use mold-resistant drywall and cement backer boards in wet zones for durability and mold prevention. - **Flooring and Walls:** Choose waterproof, slip-resistant flooring materials such as tile, vinyl plank, or natural stone. For walls, tile the splash zones and use moisture-resistant materials elsewhere. - **Ventilation:** Proper air circulation via an exhaust fan is crucial to protect new installations from humidity damage.
**Necessary Tools and Materials**
- Basic tools: Screwdrivers, adjustable wrench, pliers, hammer, utility knife - Plumbing tools: Pipe wrench, drain removal tool, plumber’s putty, pipe sealant tape - Construction materials: 2x4 lumber for stringers, mold-resistant drywall, cement backer board, thin-set mortar and grout (if tiling walls), drywall compound - Safety gear: Gloves, eye protection, dust mask - New fixtures: Bathtub, drain assembly, overflow cover, valve trim, spout, showerhead - Paint and finishing supplies: Moisture-resistant paint, brushes or rollers, trim pieces
This thorough preparation ensures a smooth bathtub installation process, whether performed by a professional or as a DIY project, resulting in a secure, durable, and visually appealing bathroom upgrade.
- When planning a home renovation project encompassing home-improvement and home-and-garden aspects, paying attention to the lifestyle implications of your choices, such as an updated bathtub, can contribute to increased comfort and relaxation within your home.
- After successfully completing the bathtub installation process and transforming your bathroom, consider upgrading other areas of your home to complement the improved lifestyle, such as selecting decorative home-and-garden items to enhance the overall aesthetic.


