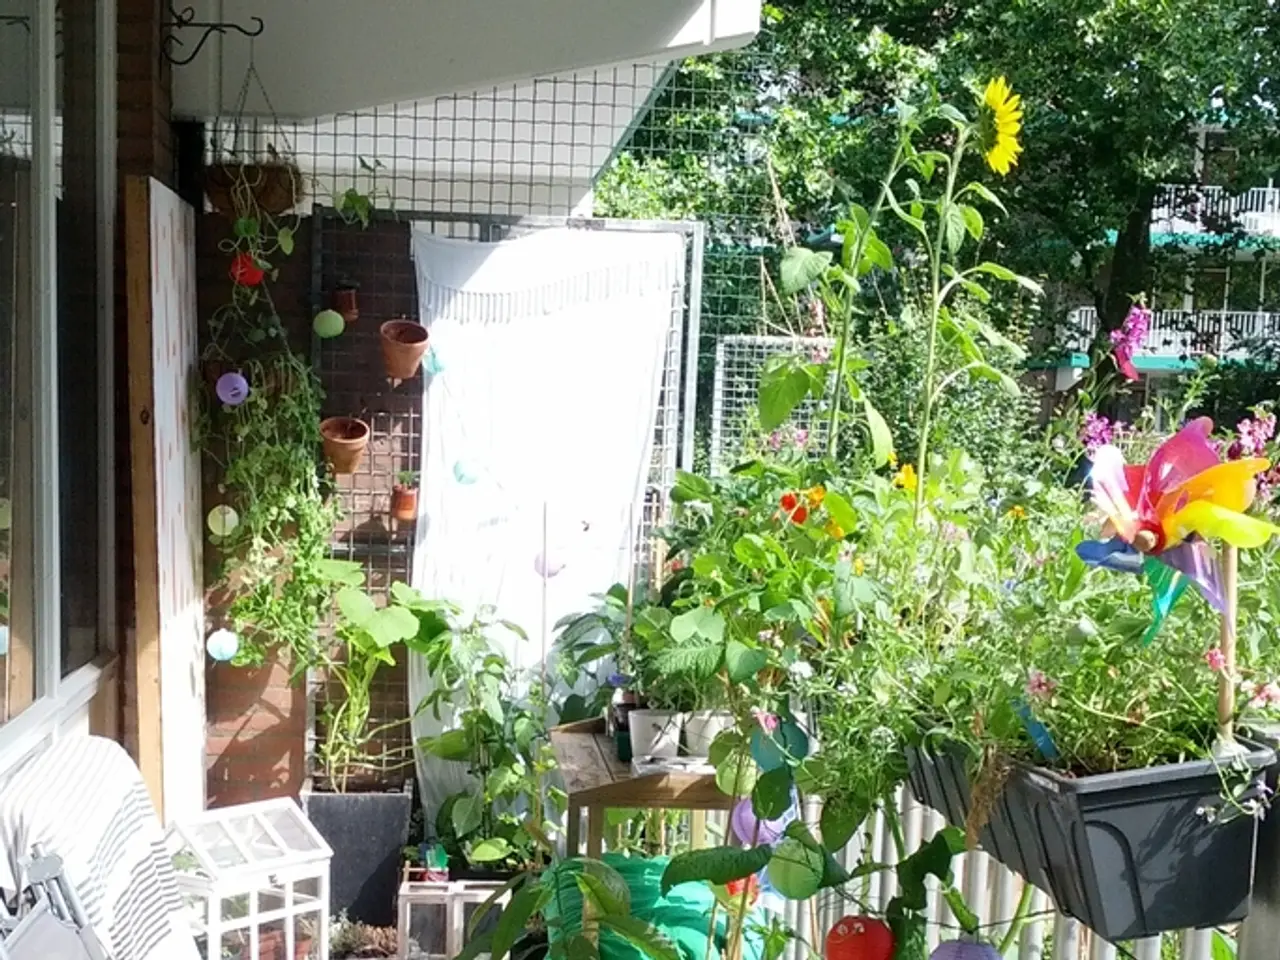
Create Your Own Stylish Paver Plant Holders for a Chic Patio Upgrade
In a bid to spruce up their porch, an enthusiastic homeowner sought a new project to modernise their garden, patio, or outdoor space. They discovered a paver planter class at The Home Depot and jumped at the opportunity to learn a new skill.
This tutorial provides a step-by-step guide on building a stylish and functional paver planter. Here's what you'll need to get started:
**Equipment and Materials** - Shovel or trenching tool - Level - Table saw or razor blade (for cutting paver base pads, if used) - Rubber mallet - Tamper or compactor - Tape measure - Wheelbarrow (optional) - Circular saw - Drill with drill bits - Utility knife - Paintbrush(es) - Bungee cords - Safety goggles - Gloves - 4 12 x 12 pavers - 2 8-foot 2 x 2s - Caulking gun and construction adhesive - Sanding block - Stain - Pencil - 3" exterior deck screws - 1 roll landscaping fabric - Small pieces of pavers for the base
**Step-by-Step Instructions**
1. **Site Preparation and Layout** - Choose and mark the location for your planter. - Dig out the soil where the planter will sit to create a level and solid foundation. - If your ground is uneven or slopes, adjust digging depth so the planter will be level when built.
2. **Base Installation** - Lay down a few inches of paver base (crushed stone or gravel) into the dug area. - Compact the base layer thoroughly. - Spread 1-2 inches of paver sand on top of the compacted base. - Use a 2x4 or similar to screed and smooth the sand to form an even surface.
3. **Building the Planter Walls** - Begin laying the first course of pavers on the base, ensuring each is level and snug. - Use a level and rubber mallet to adjust positioning as needed. - Stack further courses of pavers for your desired planter height, staggering the joints like a brick wall for stability.
4. **Drainage Layer** - Fill the bottom of the planter with 2-3 inches of drainage rocks or gravel to prevent water accumulation and ensure root health.
5. **Finishing** - Backfill with soil or potting mix inside the planter. - Add plants according to your preferences.
**Important Notes** - Leveling is crucial at every stage to ensure a sturdy and visually appealing planter. - A weed membrane can be used at the base to prevent weed growth under and around the planter. - You can build planters with or without mortar; mortar adds durability but is more permanent. - Adjust planter height and size based on your garden layout and needs. - Concrete can be used inside planters for structural stability, especially if tall or large.
This approach provides a durable, level, and functional paver planter with good drainage and neat appearance. The tutorial is budget-friendly and perfect for those who prefer learning by watching someone do something and then doing it themselves. Happy building!
Enthusiastic about revamping their home-and-garden, the homeowner decided to build a stylish and functional paver planter for their outdoor space. Using the step-by-step guide provided in this tutorial, they aim to create a modern lifestyle addition that not only enhances their porch but also offers a residence for their favorite plants.


